Results of the workshop at DENSO in Germany
April 2021
The new ROSY LS was presented. DENSO robots of the types VS050 and Cobotta were calibrated.

Results of the workshop at DENSO in Germany
April 2021
The new ROSY LS was presented. DENSO robots of the types VS050 and Cobotta were calibrated.
ROSY LS
The new version of our calibration system.
With ROSY industrial robots are calibrated and their environment measured. According to a holistic approach ROSY measures robots, grippers, workpieces and external axes.
Measurements are carried out close to the process on the shop floor. ROSY can be flexibly mounted in the cell or on the robot.
Based on customer requirements and own experiences as well as own needs, teconsult has the proven measuring and calibration system ROSY new developed.
Exceed after an accuracy check of the robotic system the determined deviations from process requirements or are the requirements for accuracy of the robot is very high, the robot calibration can be used.
ROSY enables the increase of the absolute accuracy of industrial robots.
ROSY is a service tool in a portable case and is available for services from teconsult at the end customer's site.
Interface
There is a web interface for setup. Communication with the controller takes place via an ORIN provider. This provider is implemented prototypically as a b-Cap server.
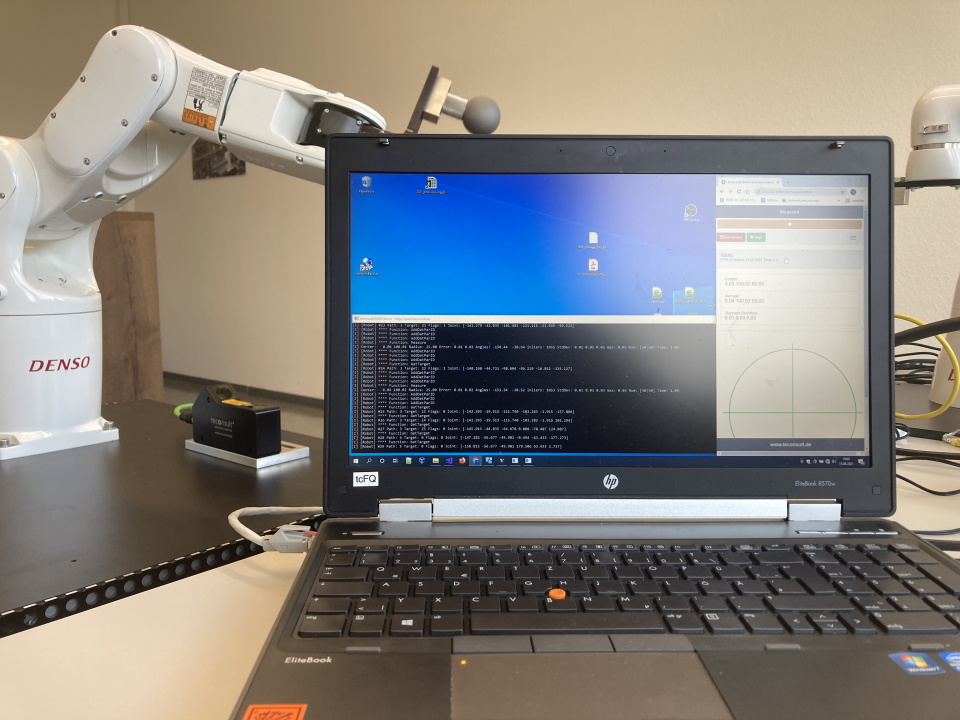
Setup
The sensor is mounted stationary. No cables are moved along.
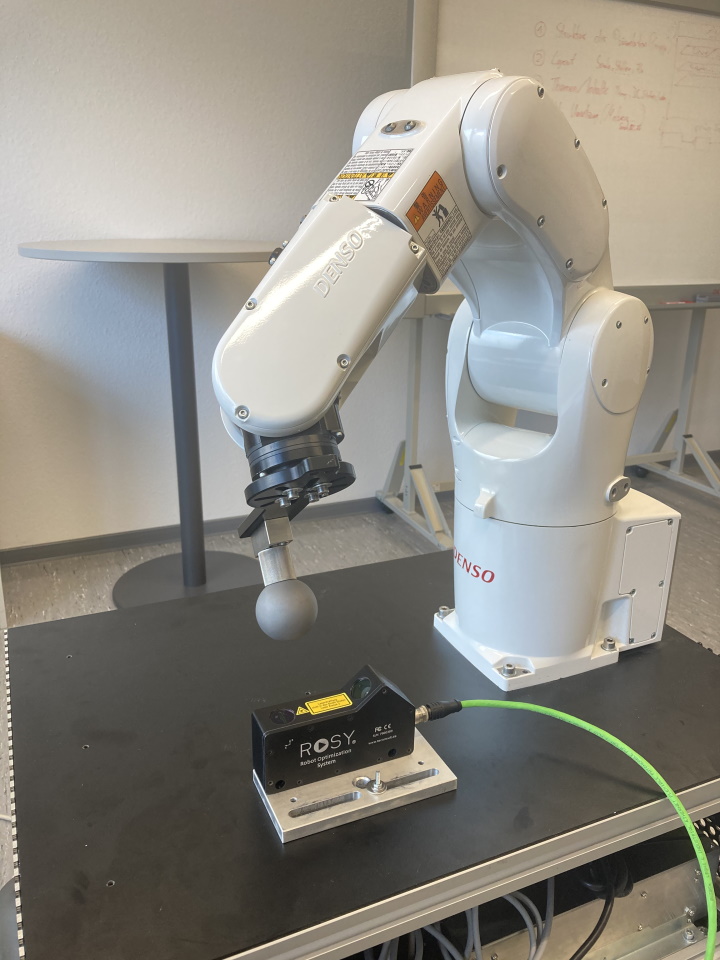
Performance Overview
Sensor and probe
We use a hight precision light section sensor. The ball probe is attached on the robot.
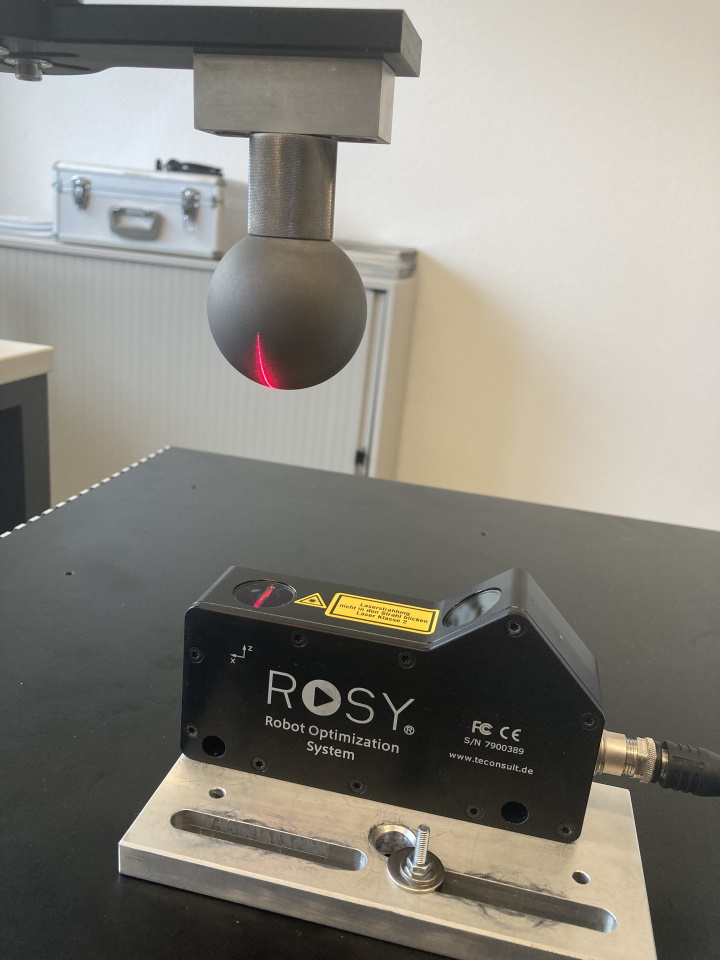
The Unique Advantages of ROSY LS
Calibration of a DENSO VS050
using the new ROSY LS.
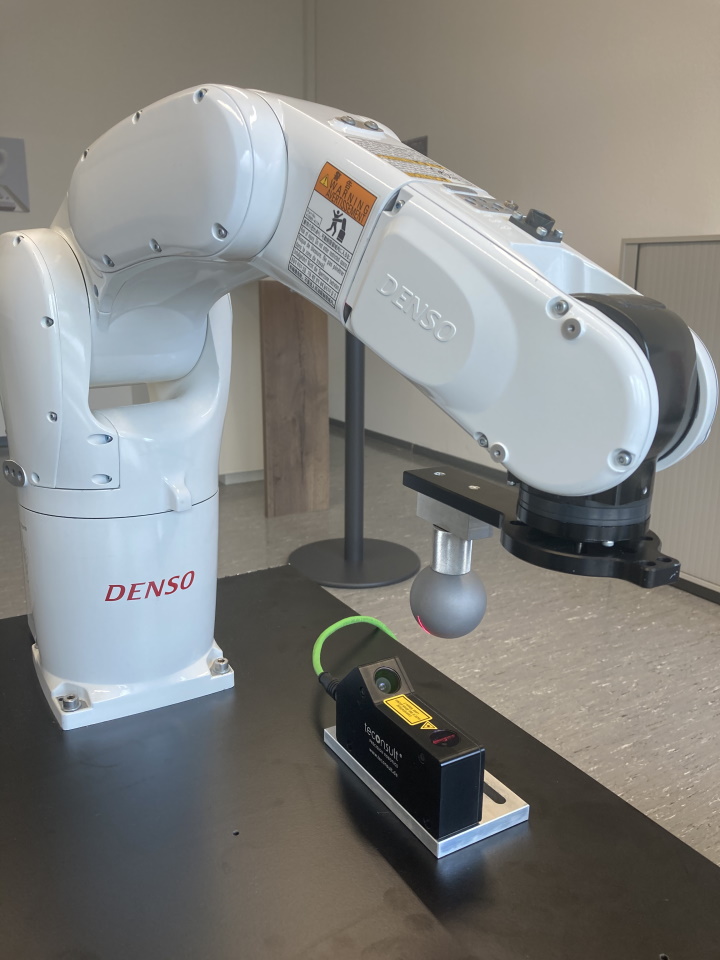
Video DENSO VS050
Results
The time for the measurement is less than 5 minutes. A total of about 80 measurement poses were approached. The mean error could be improved from 4.784 to 0.057mm. The maximum error from 8.040 to 0.148mm.
Time for Measurement:
5 minutes
Improvement of the mean error
4.784 to 0.057mm
Improvement of the maximum error
8.040 to 0.148mm
Calibration of a DENSO Cobotta
using the new ROSY LS.
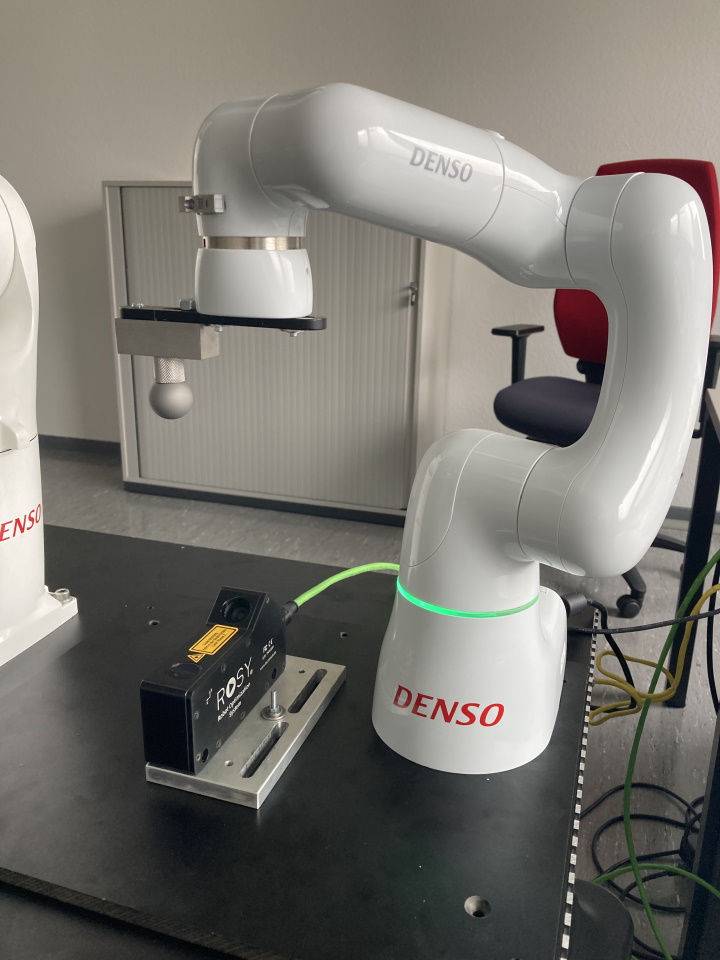
Video DENSO Cobotta
Results
The time for the measurement is less than 2 minutes. A total of 34 measurement poses were approached. The mean error could be improved from 0.978 to 0.132mm. The maximum error from 1.925 to 0.336mm.
Time for Measurement:
2 minutes
Improvement of the mean error
0.978 to 0.132mm
Improvement of the maximum error
1.925 to 0.336mm
Download